Why This Silicone Putty is a Must-Have
✔ Instant Mold Making – Cure in 15-20 minutes (faster than liquid silicone!)
✔ Perfect Details – Captures even fingerprints and fine textures
✔ No Measuring Hassle – Simple 1:1 mix ratio by weight
✔ Reusable & Durable – Make multiple casts from one mold

Gathering Your Supplies
Here’s what you’ll need:
-
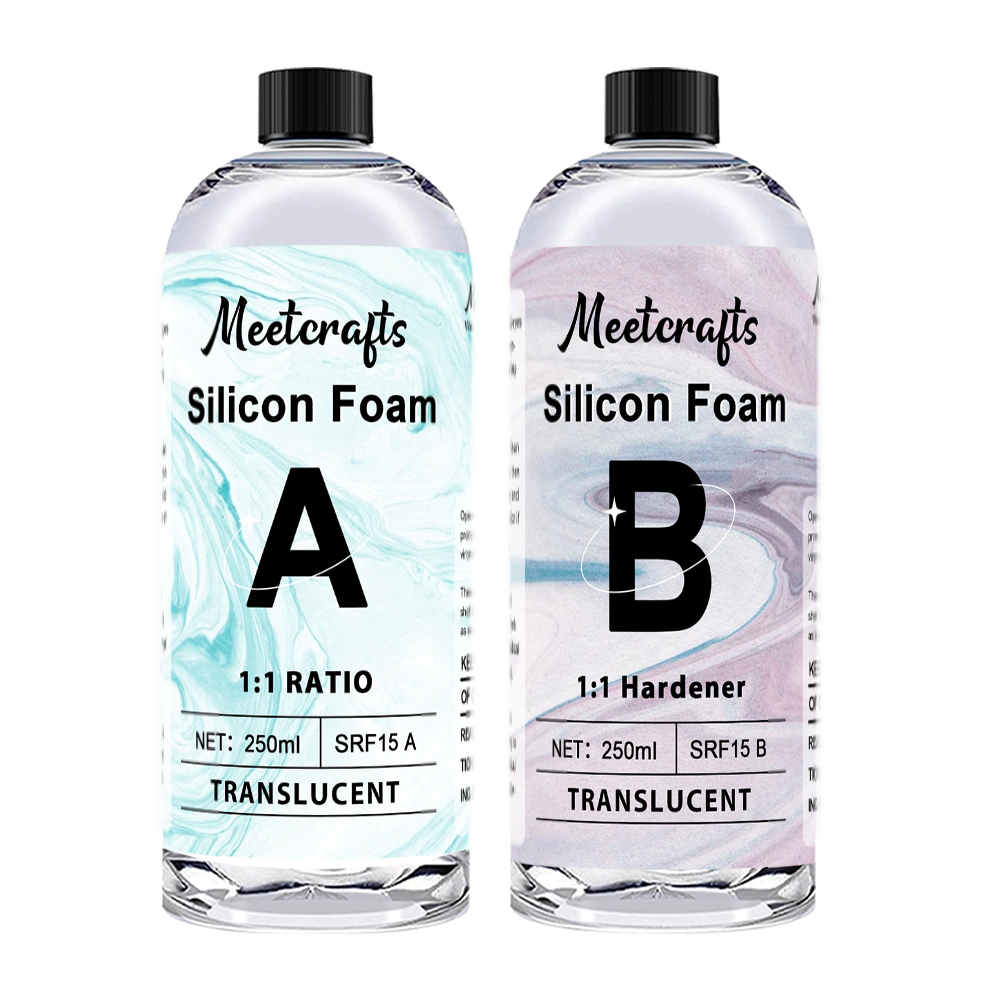
Silicone Putty (Components A + B) – The magic duo that hardens into a flexible mold
-
Object to Mold – Jewelry, toys, coins, or even organic items like leaves
-
Scale (Optional) – For precise 1:1 mixing (eyeballing works too!)
Step-by-Step Guide
1. Mixing (Pot Life: 3 Minutes! ⏳)
-
Ratio: Combine equal parts A and B by weight (e.g., 50g A + 50g B).
-
Knead Fast! Mix thoroughly for 30 seconds until uniform in color (no streaks!).
-
Pro Tip: Work on a clean surface to avoid dirt in your mold.
2. Press & Shape (Work Quickly!)
-
Flatten the putty into a pancake shape.
-
Press your object firmly into the putty (push into fine details first).
-
For 3D molds: Cover the object completely with extra putty.
3. Cure (15-20 Minutes at 25°C)
-
Let it sit undisturbed—no peeking!
-
Cold room? Warm the putty slightly to speed up curing.
4. Demold Like a Pro
-
Gently peel the silicone away from your object.
-
Stuck? Flex the mold or use a dull tool to pry edges carefully.
5. Cast Your Creations!
Pour resin, wax, or even chocolate into your new mold. Repeat endlessly!

Pro Tips for Perfect Molds
-
Small Objects? Use less putty to save material.
-
Deep Details? Press the putty in layers to avoid air pockets.